|
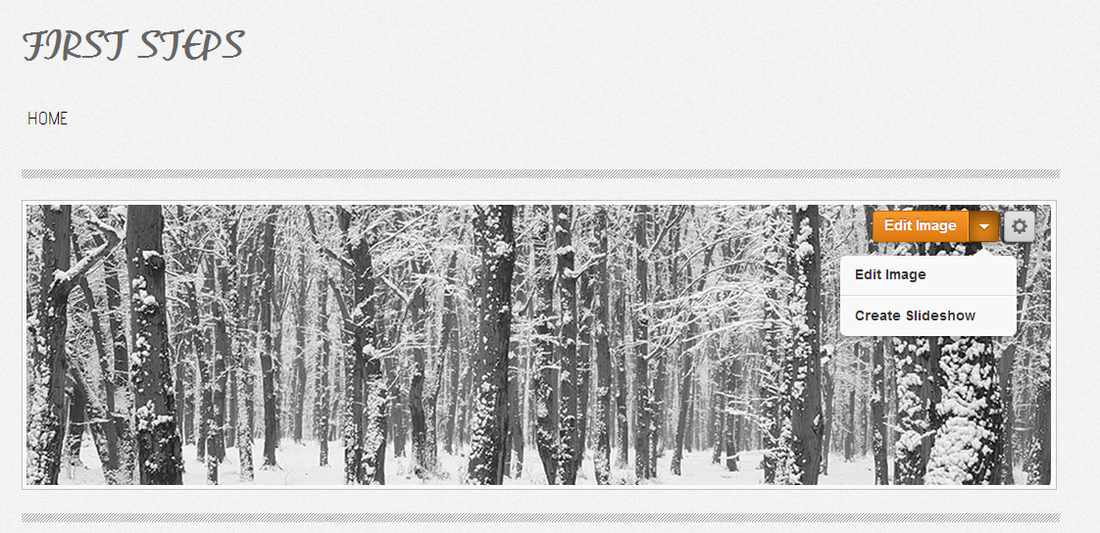
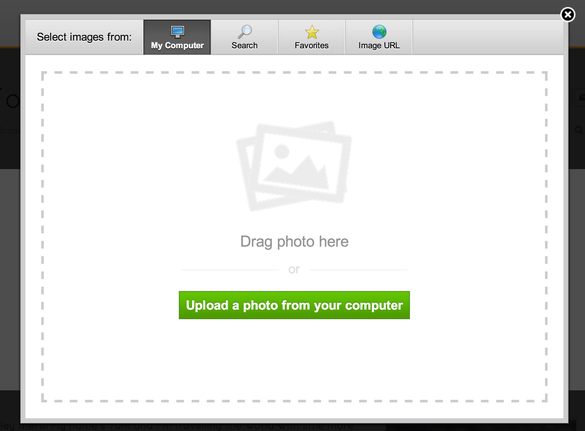
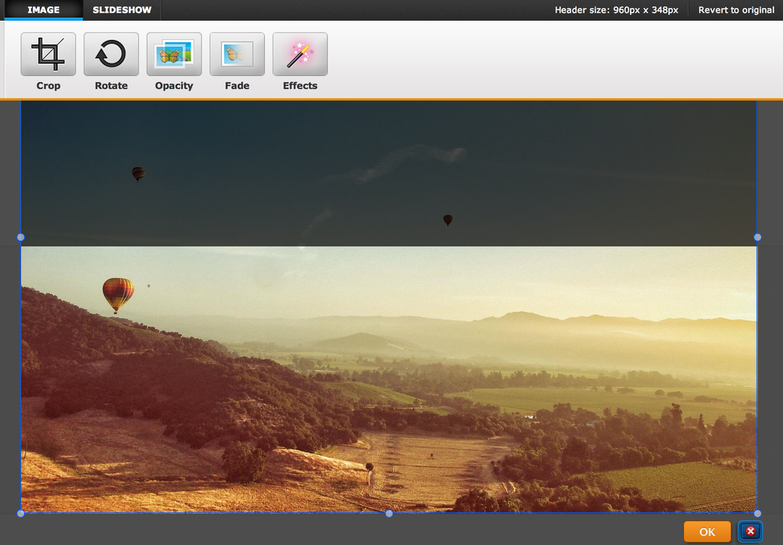
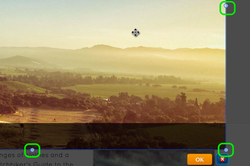
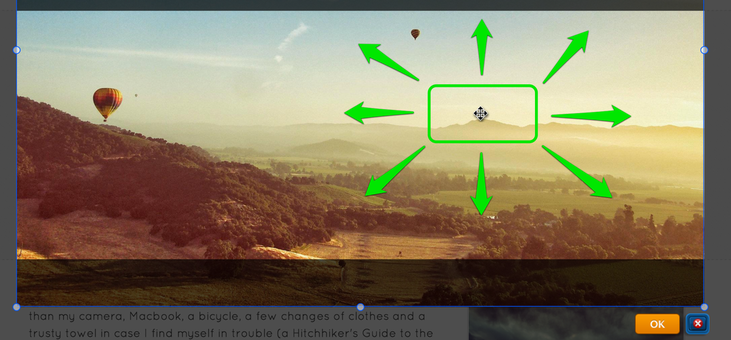
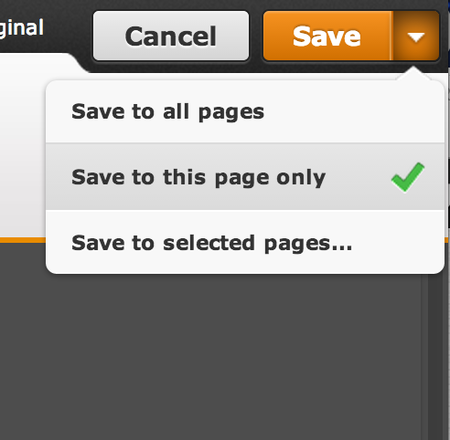
A lot of our themes include an area for a header image (you'll know your theme includes this if there's a default image at the top of theme). As it's doubtful you'll want to use the default image on any of your pages, we've built an easy to use header creation tool called Image Perfect so you can make your own active header slideshows. To do so, scroll over your current banner image and to do so, scroll over your current banner image and click the arrow next to the Edit Image button. Then choose create Slideshow or to keep a static banner images click edit Image. To get started, scroll over the header image and click the Edit Image button: If you've previously uploaded an image to the banner area that will display as the first image in your show. If you haven't previously uploaded an image then you'll be prompted to do so. This will open up a dialog box that allows you to upload an image from your own computer or to search for an image from our stock photo database. Once you upload or find an image, you'll be able to edit that image. This particular image is taller than the banner area. But header images can be re-sized using the little bubbles at each corner and side of the image. And an image can be dragged to better fit the header by clicking anywhere on it and dragging it. Use the provided tools at the top of the page to edit and add text / effects to the image as needed. When you're happy with an image, select the Save button to Save it. You can use the arrow to the right of the Save button to choose whether to save the image to every page of the site, just this page or to select only certain pages to save it to. In that way you can have different headers on different pages if you want. Keep in mind that multiple images can be added to the same header just by continuing to add images using the Add Image button.
With this done, let's move on and Adding More Pages. Comments are closed.
|
Main Links |
Our Services |
About Us |
|
Find Us
|
TERMS & CONDITIONS | PRIVACY POLICY
COPYRIGHT © STUNNING CREATIONS... All Rights Reserved...
